
Long Exposure Photography tips and tricks.

This is the first part of three posts on long exposure photography.
To stay up to date on future posts fill in the form at the bottom of the page to subscribe to updates.
Long Exposure photography, while this seems to be shrouded in mystery it's really quite simple.
Always remember that a photograph is just captured light. Each photograph needs to be correctly exposed (to have enough light, neither too much nor too little). Our aim as photographers is to balance light (something I will post about later).
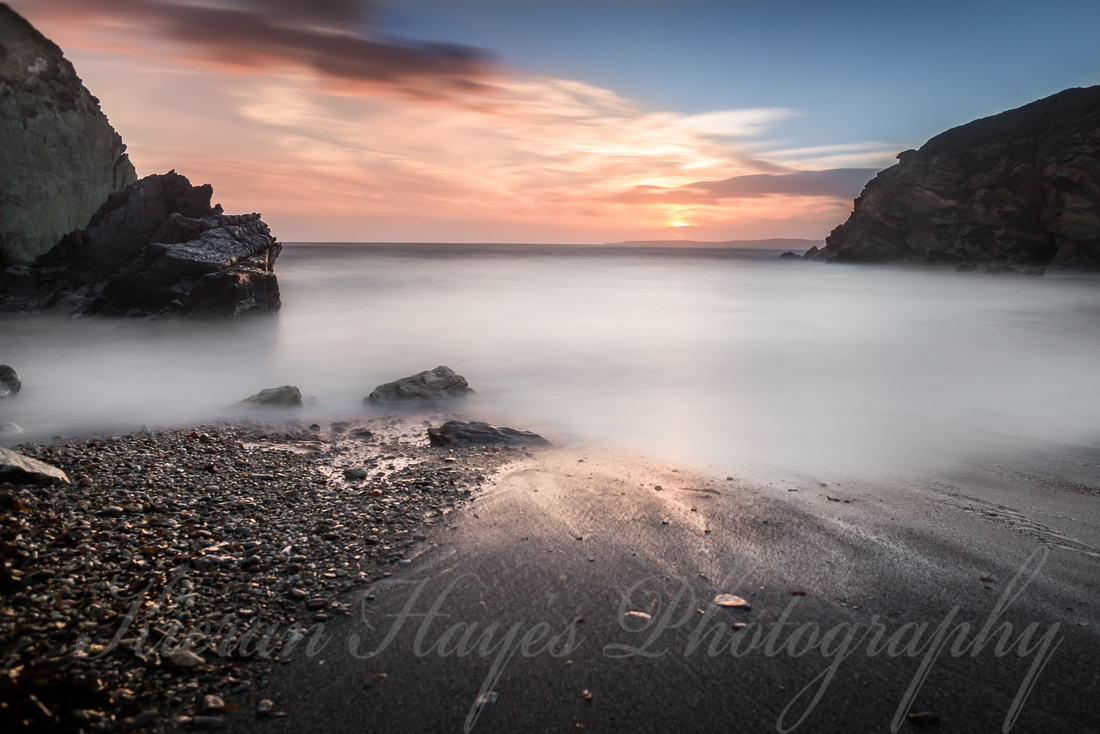
A long exposure shot is simply one where the camera absorbs the image (light) for longer, this then creates a blurred effect on moving objects like cars, stars or primarily water as seen in many of my photographs. You can use this effect to manually create the surreal out of the ordinary, to capture an image is a wonderful feeling but to create something you truly love and can enjoy daily is an experience second to none.
An LE (long exposure) shot can be anything from half a second to minutes long. Most LE shots are under the 30-seconds long though.
Speaking of filters as an official brand ambassador for Firecrest filters by Formatt Hitech I can offer a 10% discount or Promo code HAYES10 for any special offers click Here for up to date promotions.
So here we go.
How do we reduce the light level to the camera?
How does the camera interact with light?
These are the first two things we must understand and its actually very simple. So stick with me :-)
The first method is a neutral density filter (basically darkened glass) this reduces the light allowed into the lens. This ND (neutral density) filter simply acts like sunglasses for your camera. This filter sits in front of the lens blocking a percentage of the light and can be purchased in two main varieties. Screw-on filters (physically screws on to the lens) or secondly a filter holder which can hold a few different filters at the same time and can be removed easily (very important and I will come back to that later).
You can purchase these in various strength's depending again on the effect you want and the light level you are shooting in. Which basically means you have darker glass and lighter glass.
The second way is to use the aperture of the lens, using a high aperture or F-stop eg. F16. Now I know this sounds complicated again but think of it like this... The aperture on your camera acts exactly the same as your own Iris in your eye. When it's bright your eye closes so you don't absorb too much light and when it's dark your eye opens wider to absorb as much as possible. Well, that's what the aperture setting is doing (it has another huge purpose also, depth of field).
We can control the Aperture on the lens in either manual mode (I always use manual), A, AP or AV mode which is generally the Aperture Priority mode. The more we increase the F-number or F-Stop the more we close the "iris" hence less light. By decreasing the light in the camera it means we need to take a slower photograph (shutter needs to be open for longer) to let the correct amount of light in to create the photograph which in turn creates the desired motion blur.
Lastly, your camera can also by itself vary the exposure time required through the ISO setting. ISO just varies the sensitivity of the light receiver or sensor in your camera. The ISO setting should be set to manual and at ISO100 or the lowest real ISO setting on your specific camera.
Combining a neutral density filter, high F-stop (F16) and a low ISO means your camera will need to take a longer exposure to correctly expose the image. This longer exposure is just the cameras shutter being open for longer to let enough light in to make the picture.
If you are in Ireland I provide a range of photography workshops or one to one tuition sessions, these are all done in plain English and out in nature, for more information Click Here
Try this
It pays to experiment, so after sunset, tonight why not try taking a photograph of the clouds directly overhead. Firstly setup your Tripod and adjust your Camera's Iso to ISO100 or 200 whichever is your lowest. Point your camera upwards, zoom out fully and set the F-stop to say F16. In aperture priority mode your camera will always select the correct shutter speed. Take a few shots under different light and see the effect.
Tip: Having a building in the image will help ground the image. This will not create a beautiful photograph but it will help you to understand how it all works.
Ghost images are simply done by standing in the frame of the image while the photograph is being taken for a certain period of time but not all the exposure time. It's vital you stay completely still.
I have a blog post on How to capture the image and also another one on Camera Filters
Nb. Always use a tripod. It's impossible to keep the camera steady handheld.
Also as a Firecrest official brand ambassador and Featured Artist for Formatt Hitech filters I can offer you a 10% discount code or Promo code for their website at checkout with code HAYES10.
Click here to go back to the main page
Kieran Hayes
Kieran Hayes Photography
A complete guide to long exposure photography and my top 10 tips by award-winning photographer Kieran Hayes
Clonakilty
Cork
Co. Cork
Ireland
087-9103794
Kieran Hayes Photography
5.0 Star rating
39 votes
4th of February 2020
https://www.kieranhayesphotography.com/complete-guide-to-long-exposure-photography